
The latest release of Sitecore 9.2 simplified the installing Sitecore XP on a developer workstation(XP single) by providing the graphical setup package. It is a simplified and self-contained package which contains a .exe file to install the Sitecore 9.2 on a developer machine. In this blog, I will show you how simple is now Sitecore installation on a developer machine, NO PowerShell console no manual steps to perform.
- Sitecore 9.2 supports Solr 7.5 so we need to create an SSL based Solr service on the developer machine – There is no any change in Solr 7.5 installation if you already install 6.6.2 or 7.2.1 on https then you need to follow the same steps.
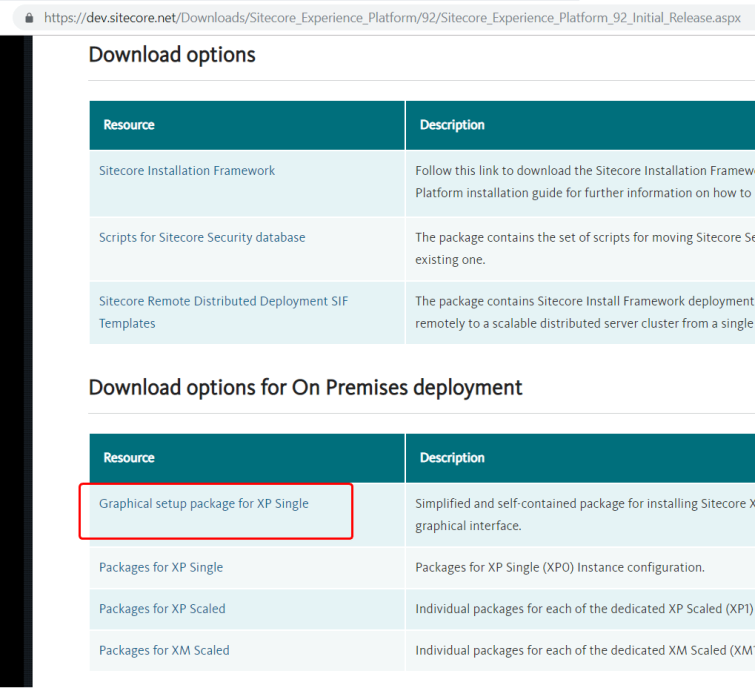
- You need to download the Graphical setup package for XP single from official Sitecore developer website –
- Once you will download the .zip file (Sitecore 9.2.0 rev. 002893 (Setup XP0 Developer Workstation rev. r150).zip) you need to extract it in a folder –
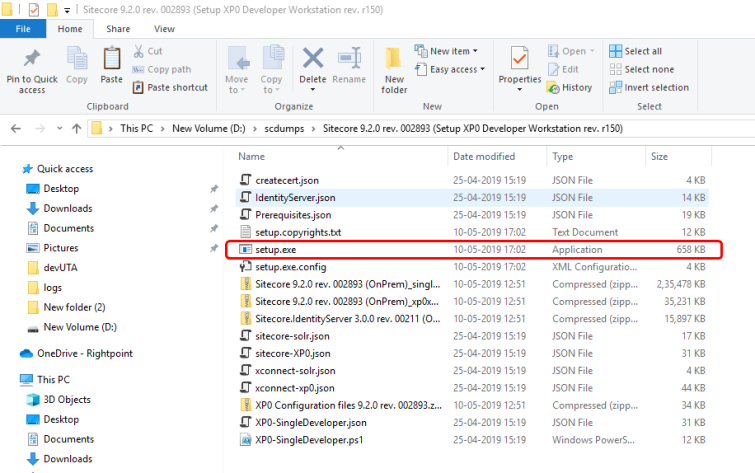
- In the extracted folder you will see a setup.exe file and a setup.exe.config file, where setup.exe is an executable file to install the Sitecore using GUI and setup.exe.config file is a config file to controls the different parameters.
- Next setup is to click on setup.exe, wait…..you need to run this as administrator
- When you will run the file as administrator, it will show you a welcome screen –
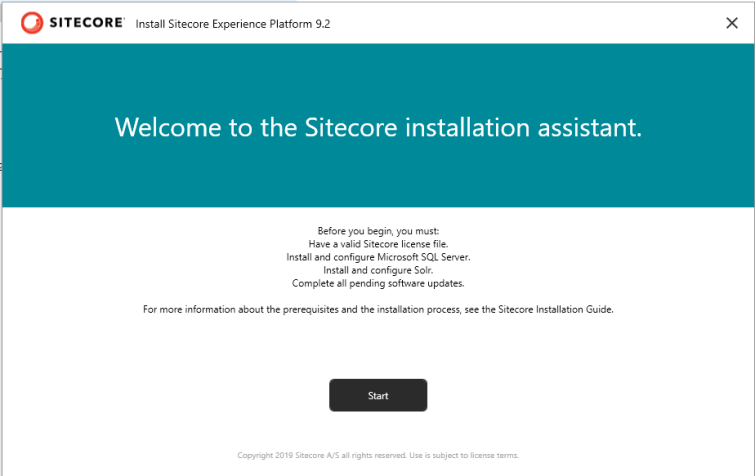
- Click on “Start” to begin the installation
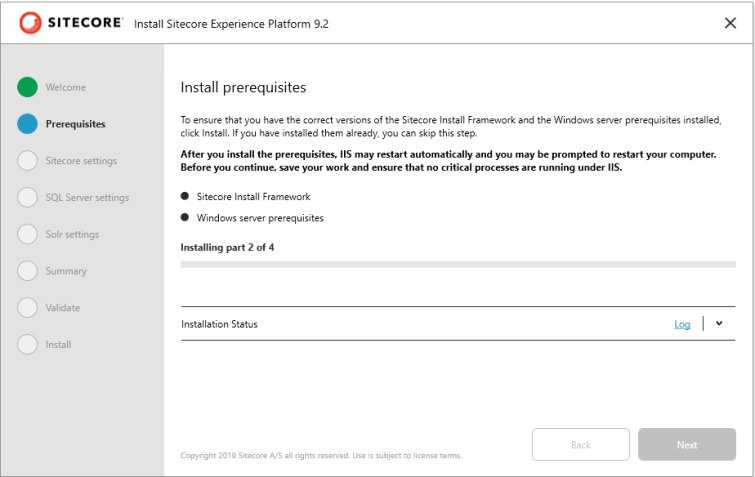
- Next step is “install prerequisites”
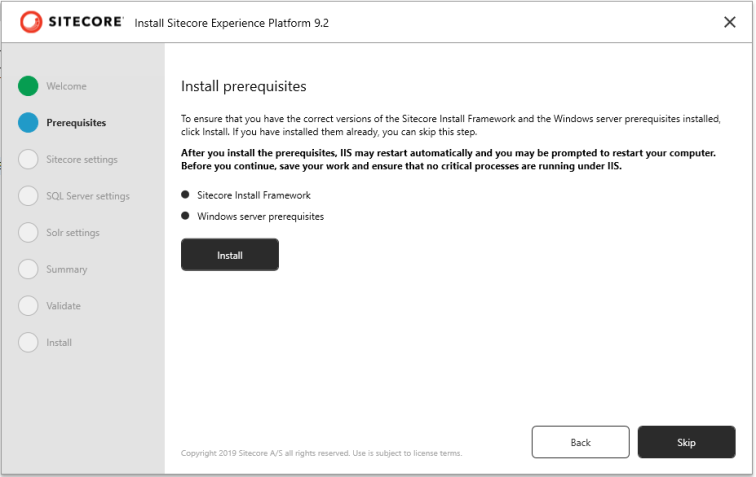
- This step make sure you have Sitecore Install Framework and Windows server prerequisites are installed
- If you have already installed them, you can skip this step. Otherwise, on first time install click on install button.
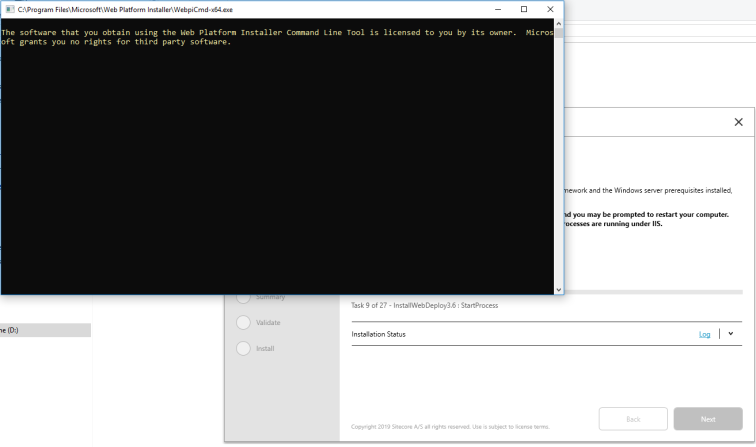
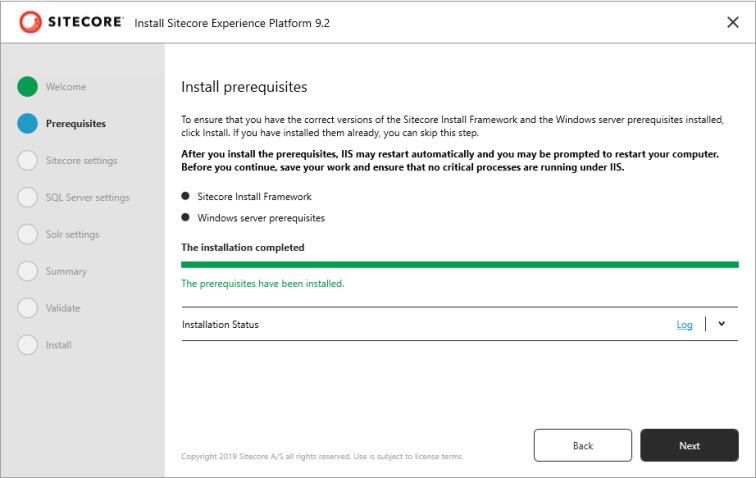
- This will install all the prerequisites for the Sitecore 9.2
- Once the installation is completed click on the Next button –
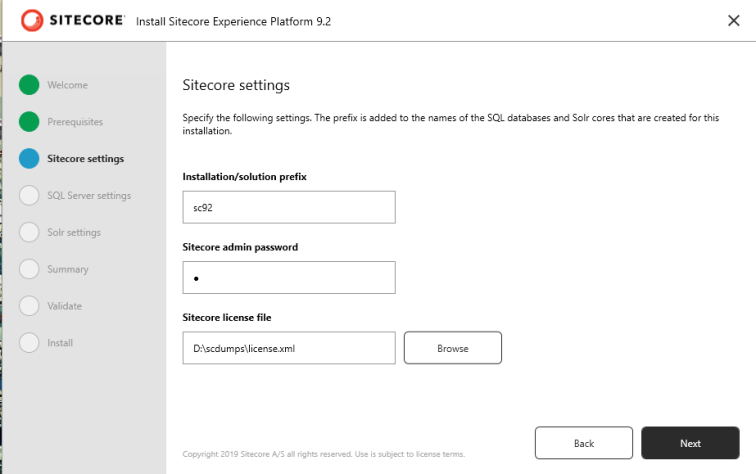
- Next step is updating the Sitecore Settings –
- Installation/solution prefix – a prefix for the website, xConnect and Identity server and other settings
- website URL will like (prefix).dev.local
- Sitecore admin password
- Sitecore license file – path to the license file
- Installation/solution prefix – a prefix for the website, xConnect and Identity server and other settings
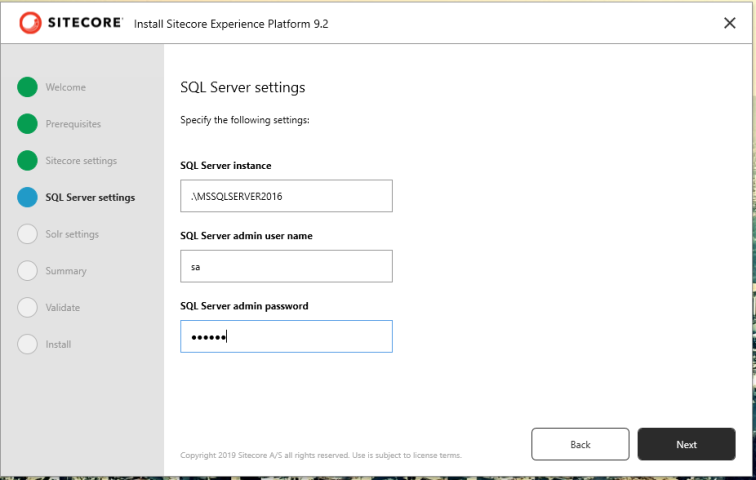
- Next step is updating the SQL server settings
- SQL Server instance
- SQL Server admin user name
- SQL Server admin password
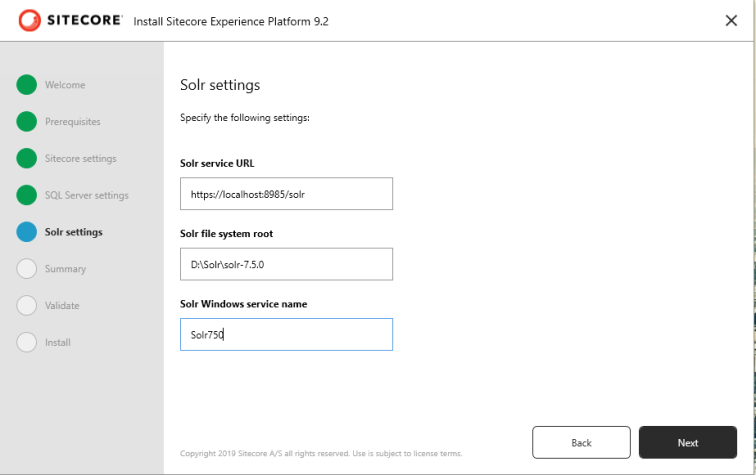
- Next step is updating Solr settings
- Solr service URL – SSL enabled Solr URL of Solr 7.5
- Solr file system root – the path of Solr file system
- Solr Windows service name
- In the next step, in Summary in which you need to ensure that everything is correct
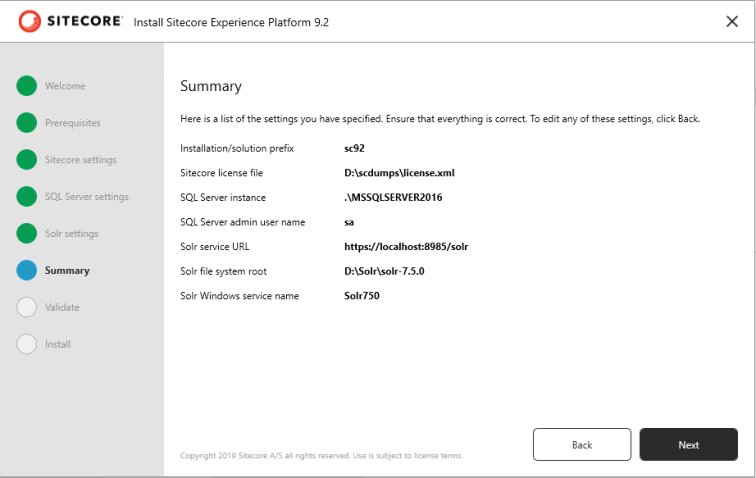
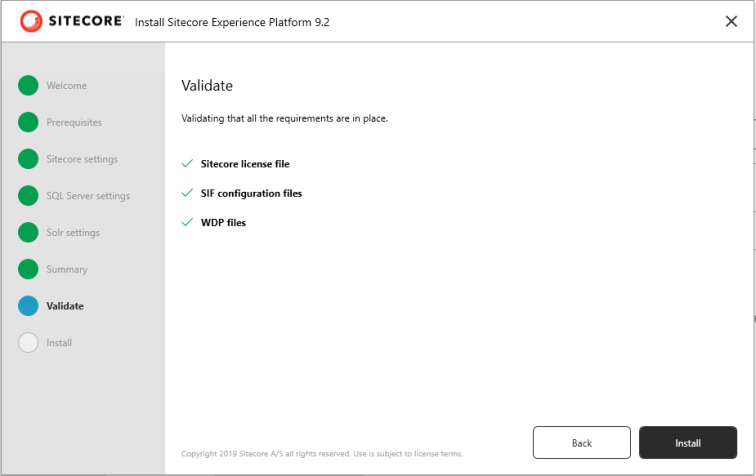
- Once you verify all these settings you can click on the Next button which will bring you in the validate state, where this executable file validate following things
- Sitecore license file
- SIF configuration files
- WDP files
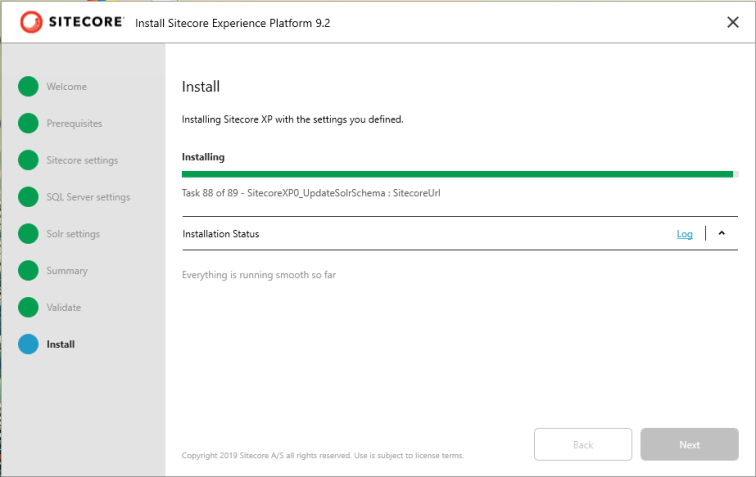
- Now click on the “Install” button to install the Sitecore 9.2 on your developer workstation. it will take a few minutes to perform all the steps
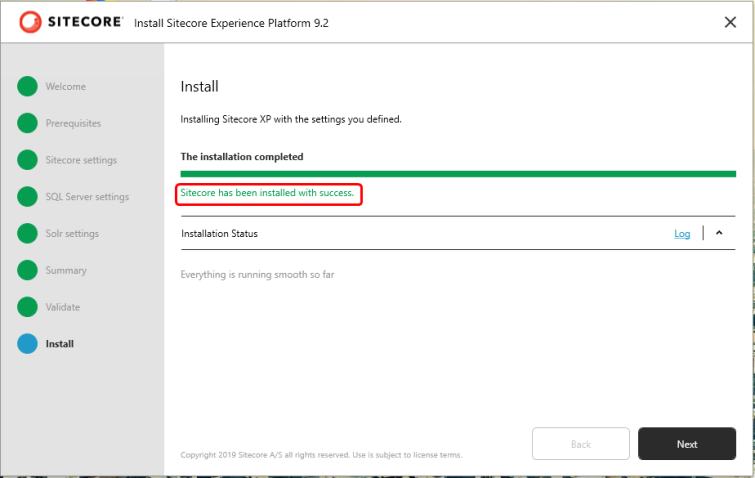
- Once the installation will be completed you will see below screen –
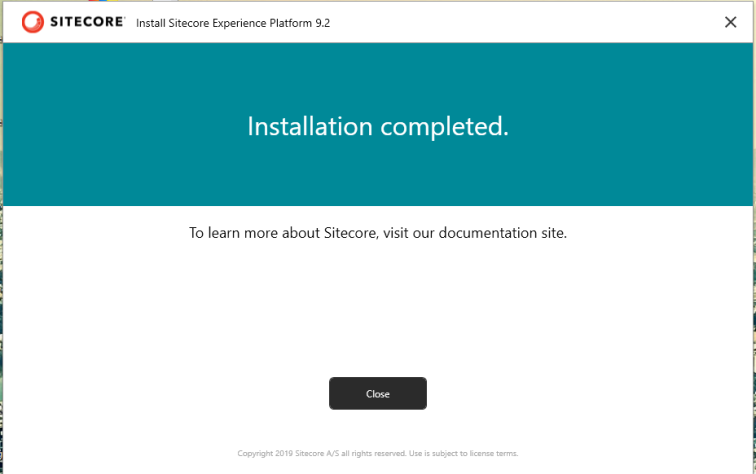
- In the next step, you will see the installation completed close window –
And that’s all for Sitecore 9.2 installation using GUI.
In the background installation of Sitecore is doing all the same things but with the GUI it is easy to set/edit all the settings required for the Sitecore installation.

3 thoughts on “Install Sitecore 9.2 using Sitecore Install Assitant graphical interface”